Git Branches in Local Repository (Tutorial)
Creating new branches
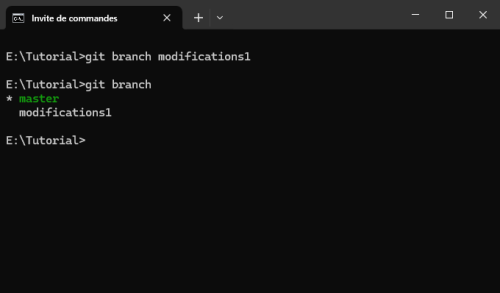
Let's create a new branch called "modifications1". We can verify the creation of this branch by using the command git branch, which displays all local branches. The currently checked out branch is highlighted in green.
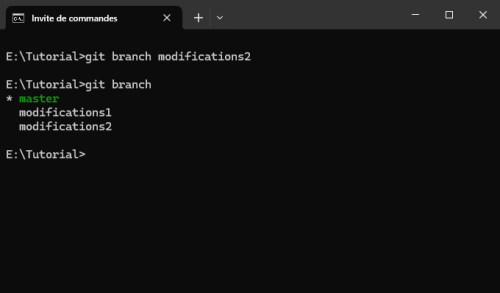
We now create a second branch called "modifications2".
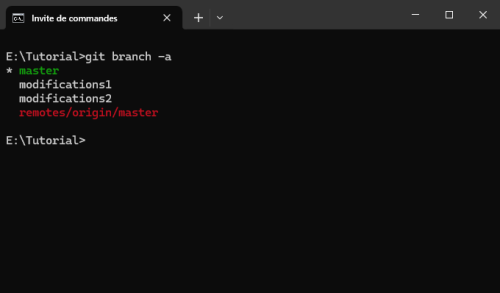
By using the option -a, the git branch command displays all branches, the local ones (green and white) and also the remote ones (red). As you can see, the branches that we have just created do not have yet a counterpart on the remote copy of the repository.
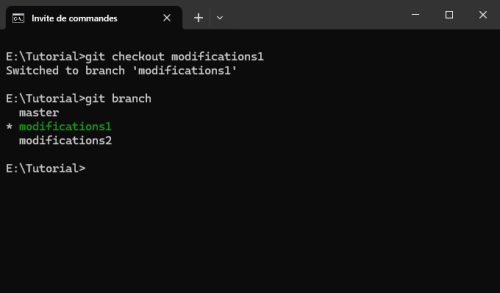
The command git checkout allows us to change from one branch to another. We can verify that the branch change has effectively taken place by using git branch.
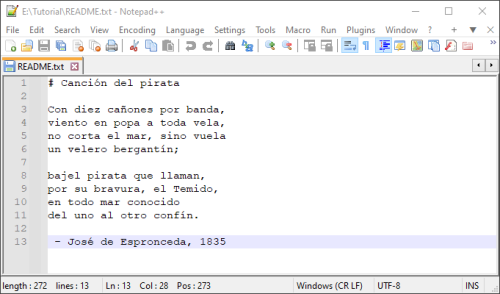
If we take a look at README.txt, we see that its content is the same that of branch master. This is completely normal since we created this new branch (modifications1) from the branch master and we haven't made any modifications yet.
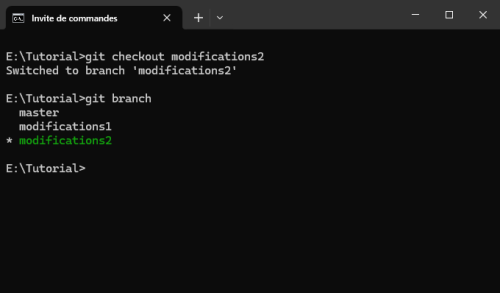
Similarly, we can also checkout to the branch modifications2 and observe that the contents of README.txt are the same as those of the other two branches.

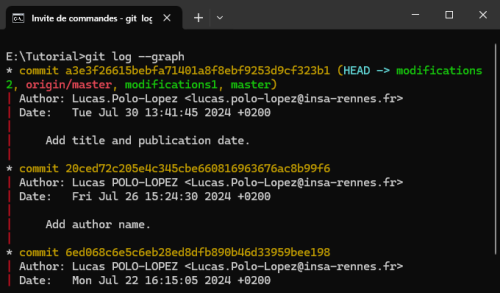
A different way of visualizing this is by using the command git log (do not forget the --graph option). We can see that the pointers of all the branches reference the same commit. Therefore, the repository presents the same state for all of them.
Making modifications to the branches
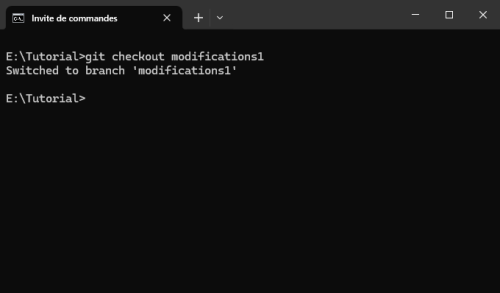
Let's now introduce some changes to one of the branches. First, we checkout to the branch modifications1.
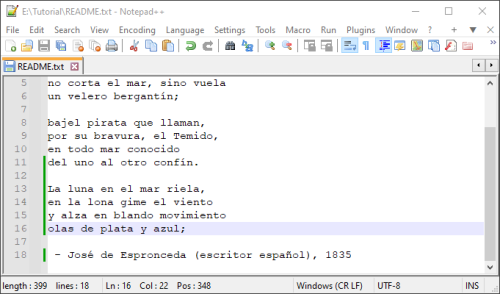
Then, we open the README.txt file and we make some modifications. We add an additional verse to the poem and specify that José de Espronceda was an spanish writer. The we save the file.
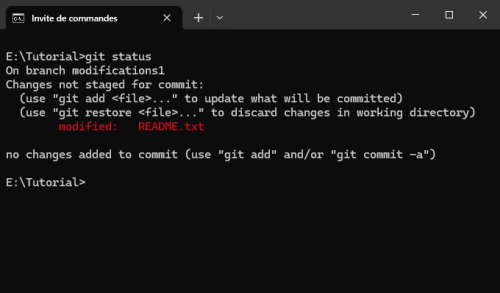
By using git status, we can verify that we are at branch modifications1, and that the file README.txt has been modified.
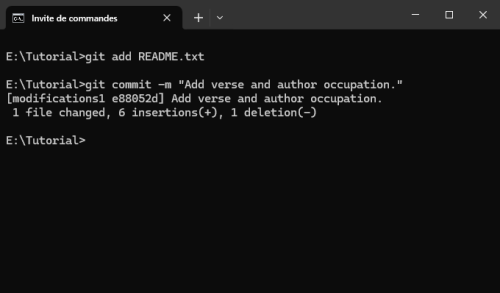
We add the file to the staging area and commit this modification.
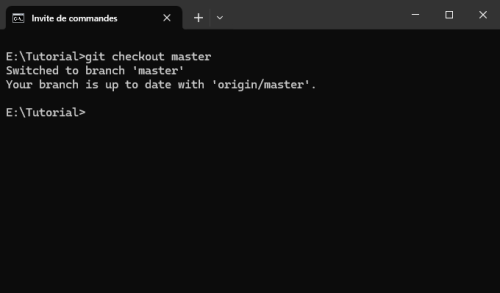
Now we switch the branch to the master one.
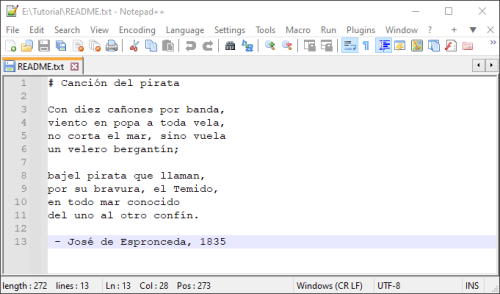
If we come back to README.txt, the modifications that we just made are not present in the file.
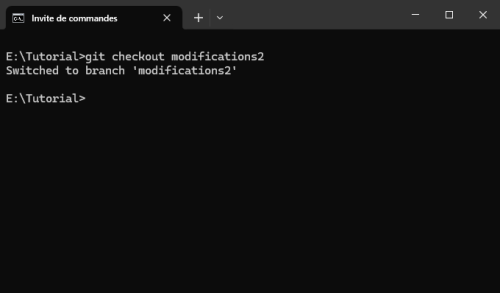
And if we switch to modifications2 we observe the same thing, the modifications do not exist in this branch.
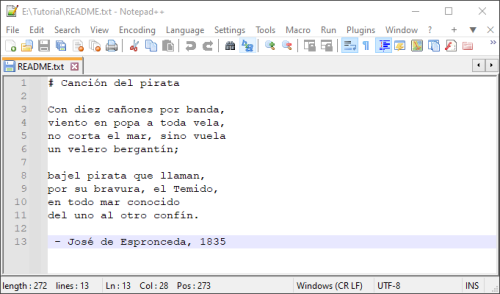
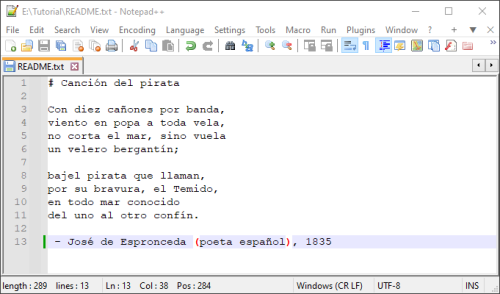
We are going to take advantage of the fact that we are at branch modifications2 to make some modifications to the file in this branch. We add a note next to the authors name specifying that he was a spanish poet.
IMPORTANT: It should be noted that this modification will conflict with the one that we did at branch modifications1 specifying that the authors was a spanish writer. We will see below how to handle this kind of situations.
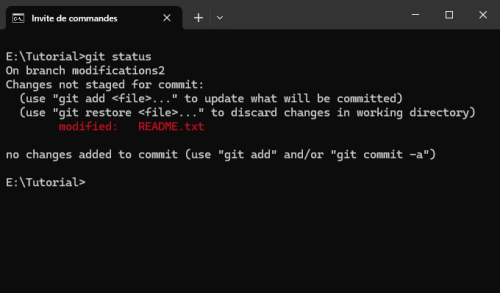
As we did before, using git status we can check that we are at branch modifications2 and that the file README.txt has been modified.
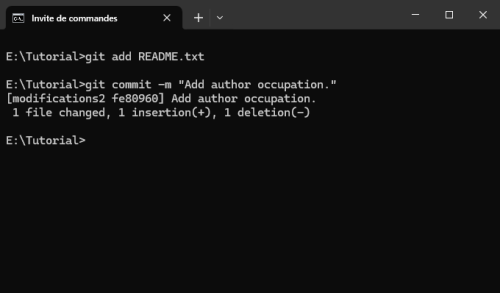
We add the file to the staging are and commit the modifications.
If we switch to the branch master.
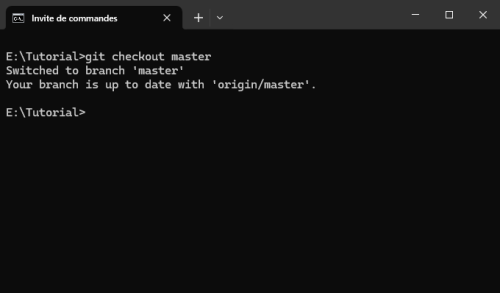
We can see that the state of README.txt is the original one.

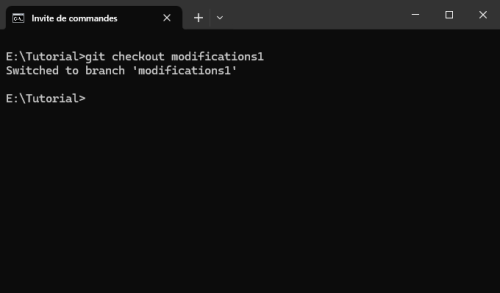
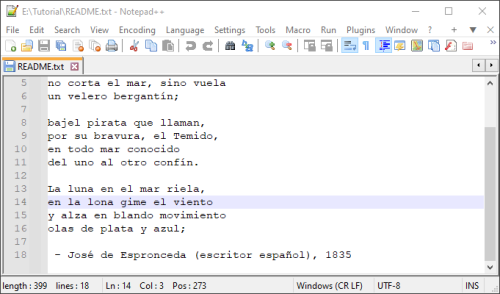
If now we switch to modifications1.
We can see that the modifications that we made to the file in this branch are present.
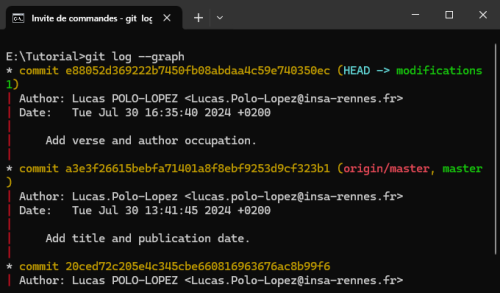
In fact, if we check the log for this branch, we see that now we are one commit forward the branch master.
Finally, if we switch to the branch modifications2.
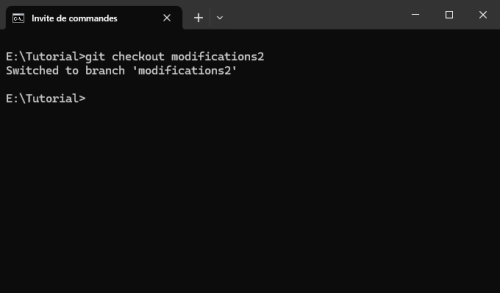
We can see that the alternative modifications are displayed.

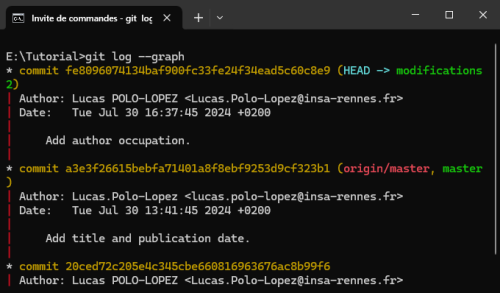
And that this branch presents an alternative history on its log, where modifications1 is not present.
Merging the branches together
Now we are going to incorporate to the master branch the modifications that we have implemented in the secondary branches. We begin by switching to the branch that will receive the modifications, in this case, the master branch. Then, we use the command git merge to specify which branch we would like to fusion to the current one. The option --no-ff (short for "no fast forward") prevents git from compacting the history tree of the project when joining the branches. It is recommended to use this option in order to have a clearer log for the repository.
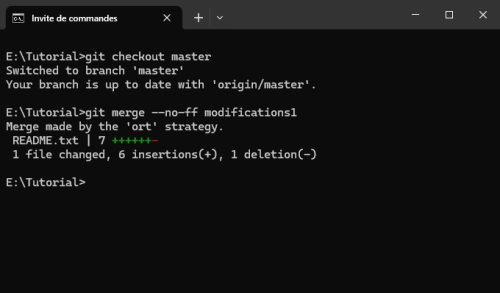
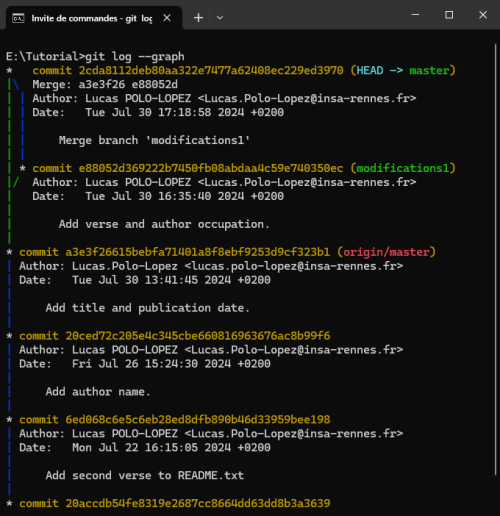
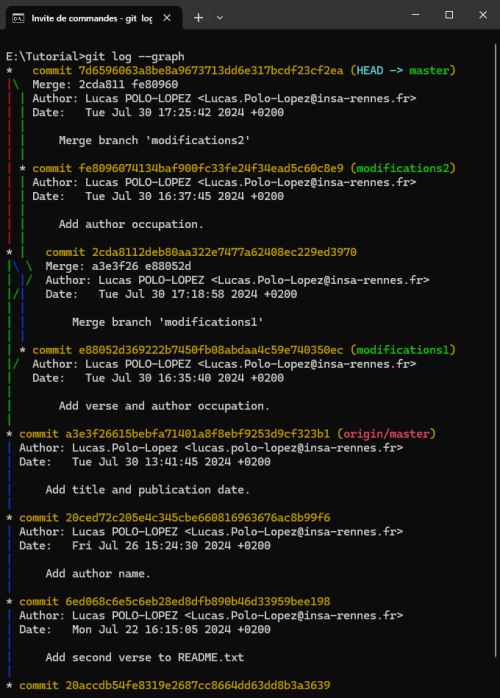
In order to have a better understanding of the former operations, we can study the log of the repository. The graph below illustrates that a branch parallel to the master one was created, and that some modifications were done to this branch. Then, the branch has been merged back to the master one. The blue and green lines on the left depict the branches.
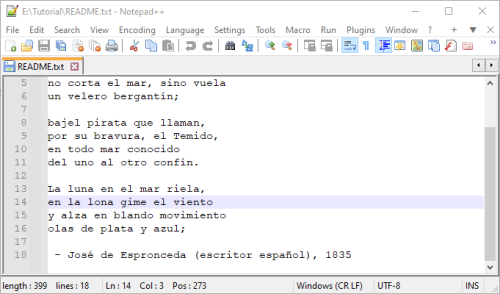
If we open README.txt we can check that the modifications that were implemented in the branch modifications1 are now present in the branch master.
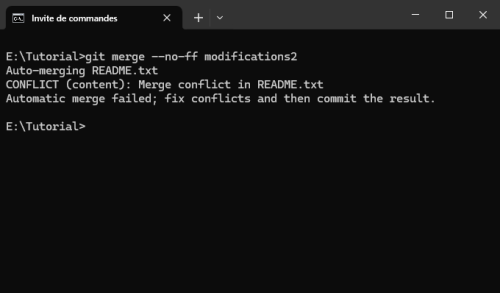
We try now to merge the branch modifications2. However, when we try to do so Git informs us that the automatic merge failed du to the existence of conflicts between both branches. In this context, a conflict means that the two involved branches present different modifications for the same parts of the file.
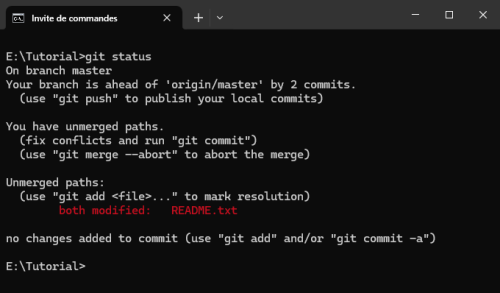
Using the git status command we get some instructions on what to do now. Git tells us that we must solve the conflicts manually, and then launch a commit to complete the merge process.
If we open the file README.txt we can see that the conflicting lines are surrounded by the markers <<<<<<< and >>>>>>>. The first part (beginning at line 13) corresponds to the contents of the HEAD pointer (the branch receiving the merge). The symbols ======= are used at line 20 to separate the different versions of the modifications. Line 21 presents the contents of the branch modifications2, as indicated in the line 22 of the file.
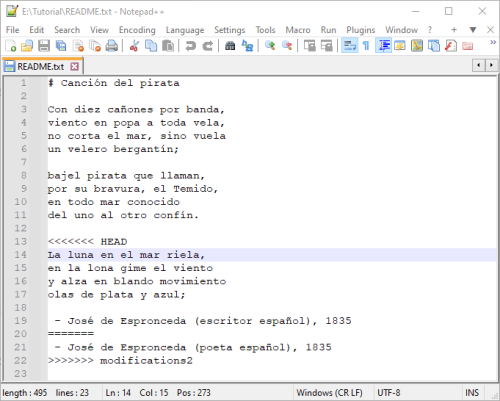
In order to solve the conflict, we must decide which version of the modifications are we going to keep, and manually suppress the other. In fact, our choice does not have to be purely binary. We can also keep some elements of one of the branches, and some of the other.
To illustrate this, we will keep the verse beginning with "La luna en el mar riela" from HEAD, and the line 21 which comes from the branch modifications2, stating that José de Espronceda was a Spanish poet ("poeta" in Spanish) instead of a writer ("escritor"). After performing this edit operation, the file should look like this.
Do not forget to save the file.
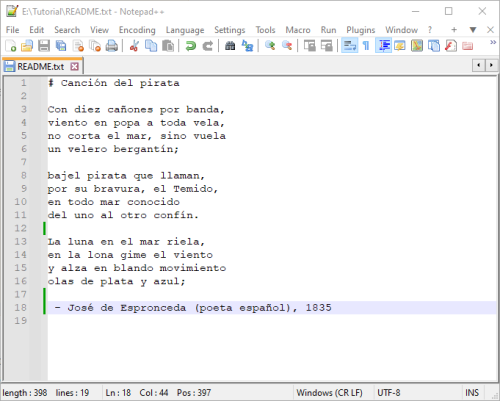
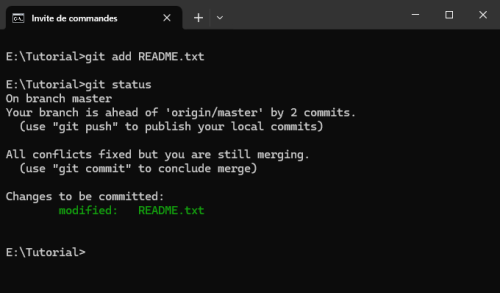
Now, we add the file to the staging area using the command git add. Using the command git status shows that the conflicts have been fixed, but that we must still use git commit to conclude the merge operation.
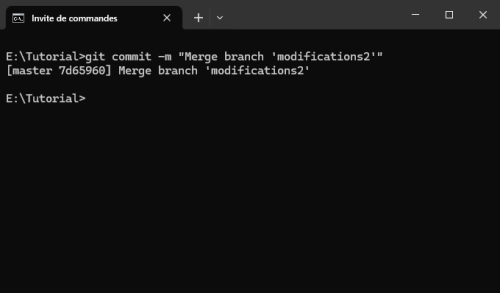
We do the commit as we have been indicated, and now we see that the merge finishes with success.
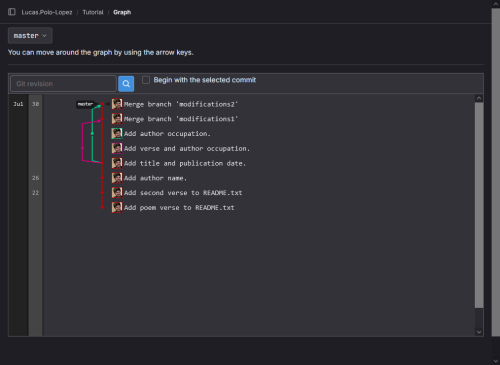
Now, we can check the log of the repository, where we can see the two branches that separate from the main one, implement some modifications and then are merged back to the main branch. This illustrates the common Git workflow. You can find more detail on this here.
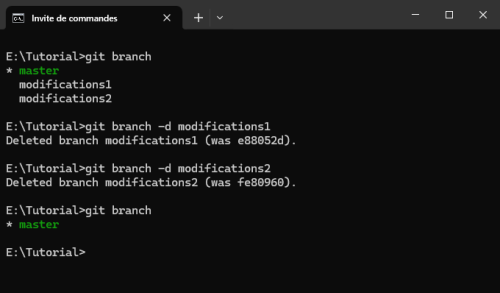
Since the branches modifications1 and modifications2 are no longer necessary, we can suppress them using the -d option (delete) of the branch command.
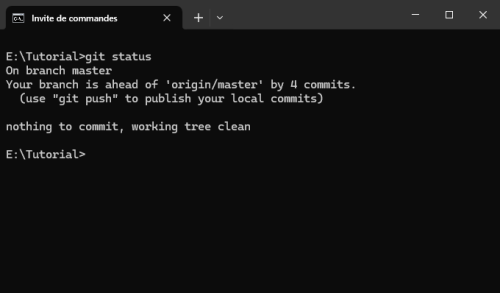
Finally, the command git status reminds us that our local copy of the master branch is ahead of the remote one.
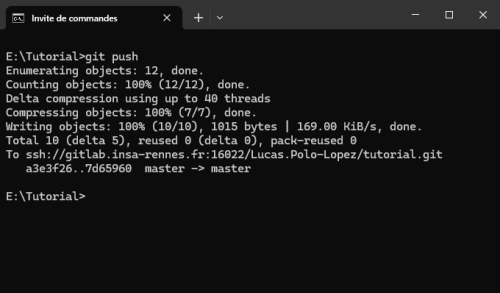
By using git push we can send to the remote copy of the repository all the modifications that we did in the present tutorial.
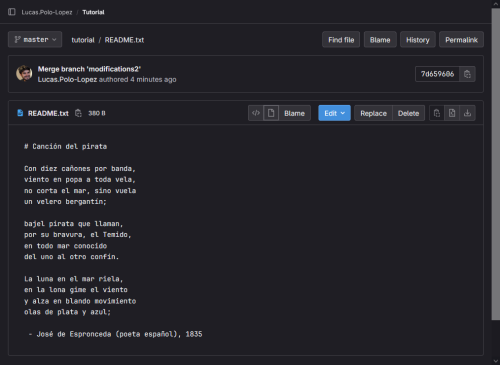
After pushing, the copy of README.txt in GitLab contains the new modifications.
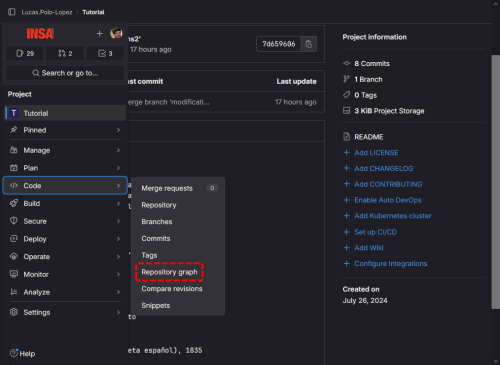
Not only that, but the whole history of the project is already sent to the server. We can verify this by taking a look at the log graph in GitLab, which displays the same contents as the one that we saw in the local console.
